How to add a client
This short tutorial shows how to create a new client in Invoice Ninja: open Clients, start a new record, enter the company and a contact, and save.
- Video: video.mp4 (English voiceover, 1:46)
- Recorded on: the public Invoice Ninja React demo at https://react.invoicing.co/demo, Monday 16 November 2026 (America/Buenos_Aires)
- Sample data: obviously fictional — company Pinecone Demo Services (FICTIONAL), contact Jordan Example, email
jordan.example@example.test
The demo is a shared company. Other sample records may already appear in the list. No Invoice Ninja account is required to follow along on the public demo.
What you’ll do
- Open the Clients page
- Start a new client
- Fill in the company name and a primary contact
- Save and confirm the record
Step 1. Open Clients
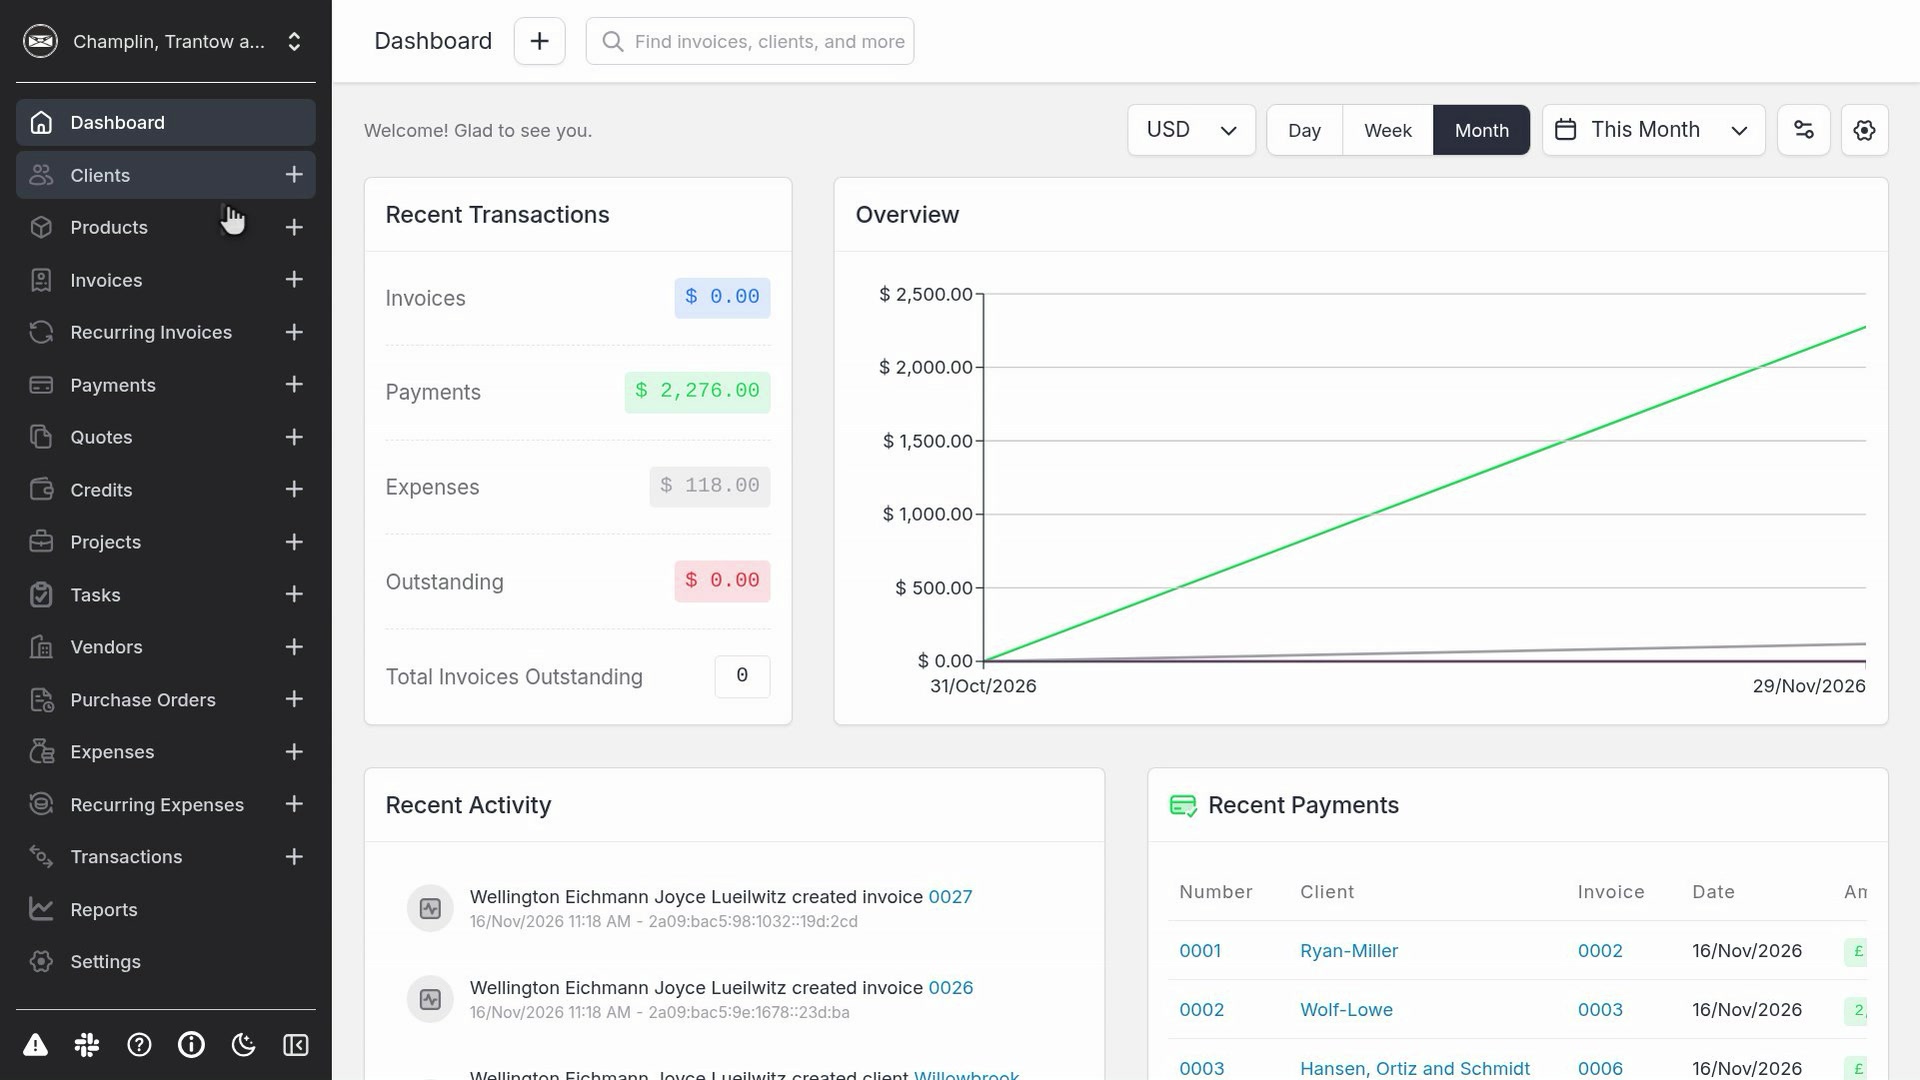
From the dashboard, click Clients in the left sidebar.
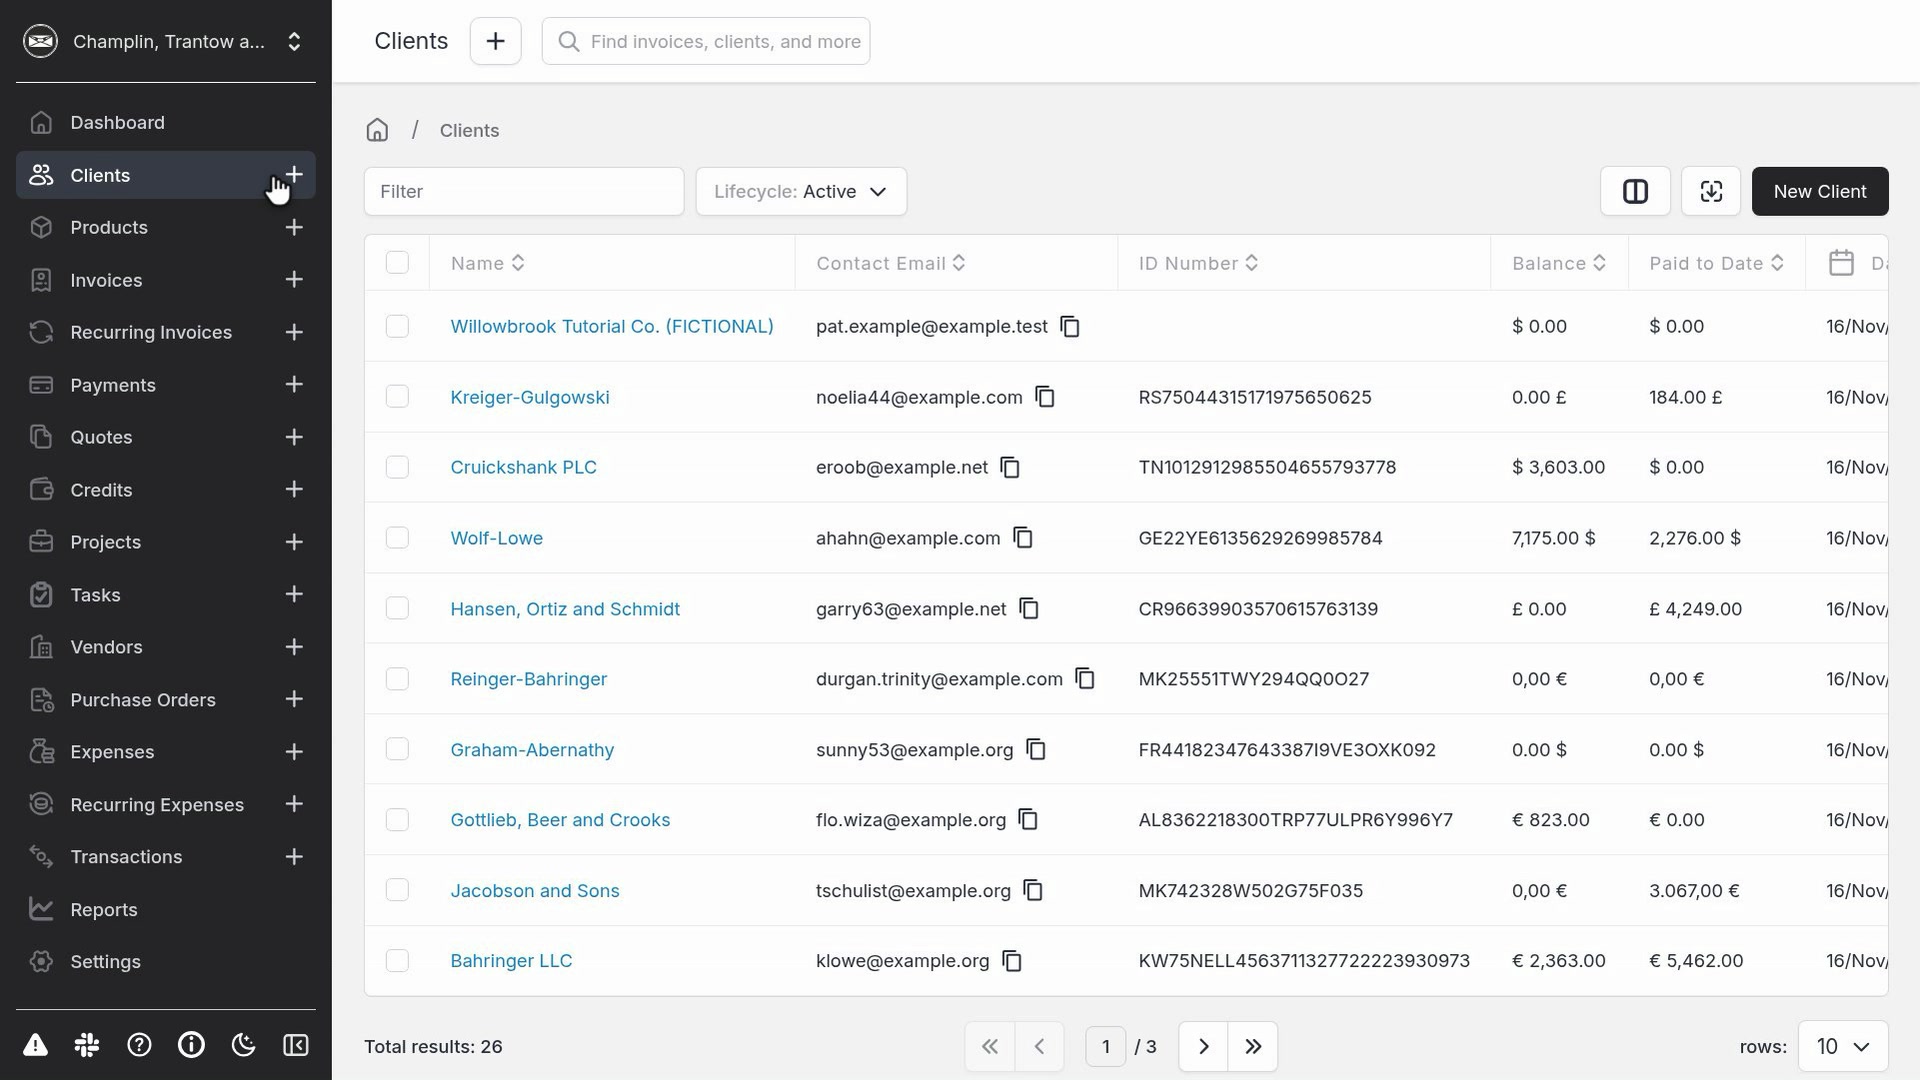
The Clients page lists every customer in the current company. In this shared demo you may already see other records, including earlier fictional tutorial data.
Step 2. Start a new client
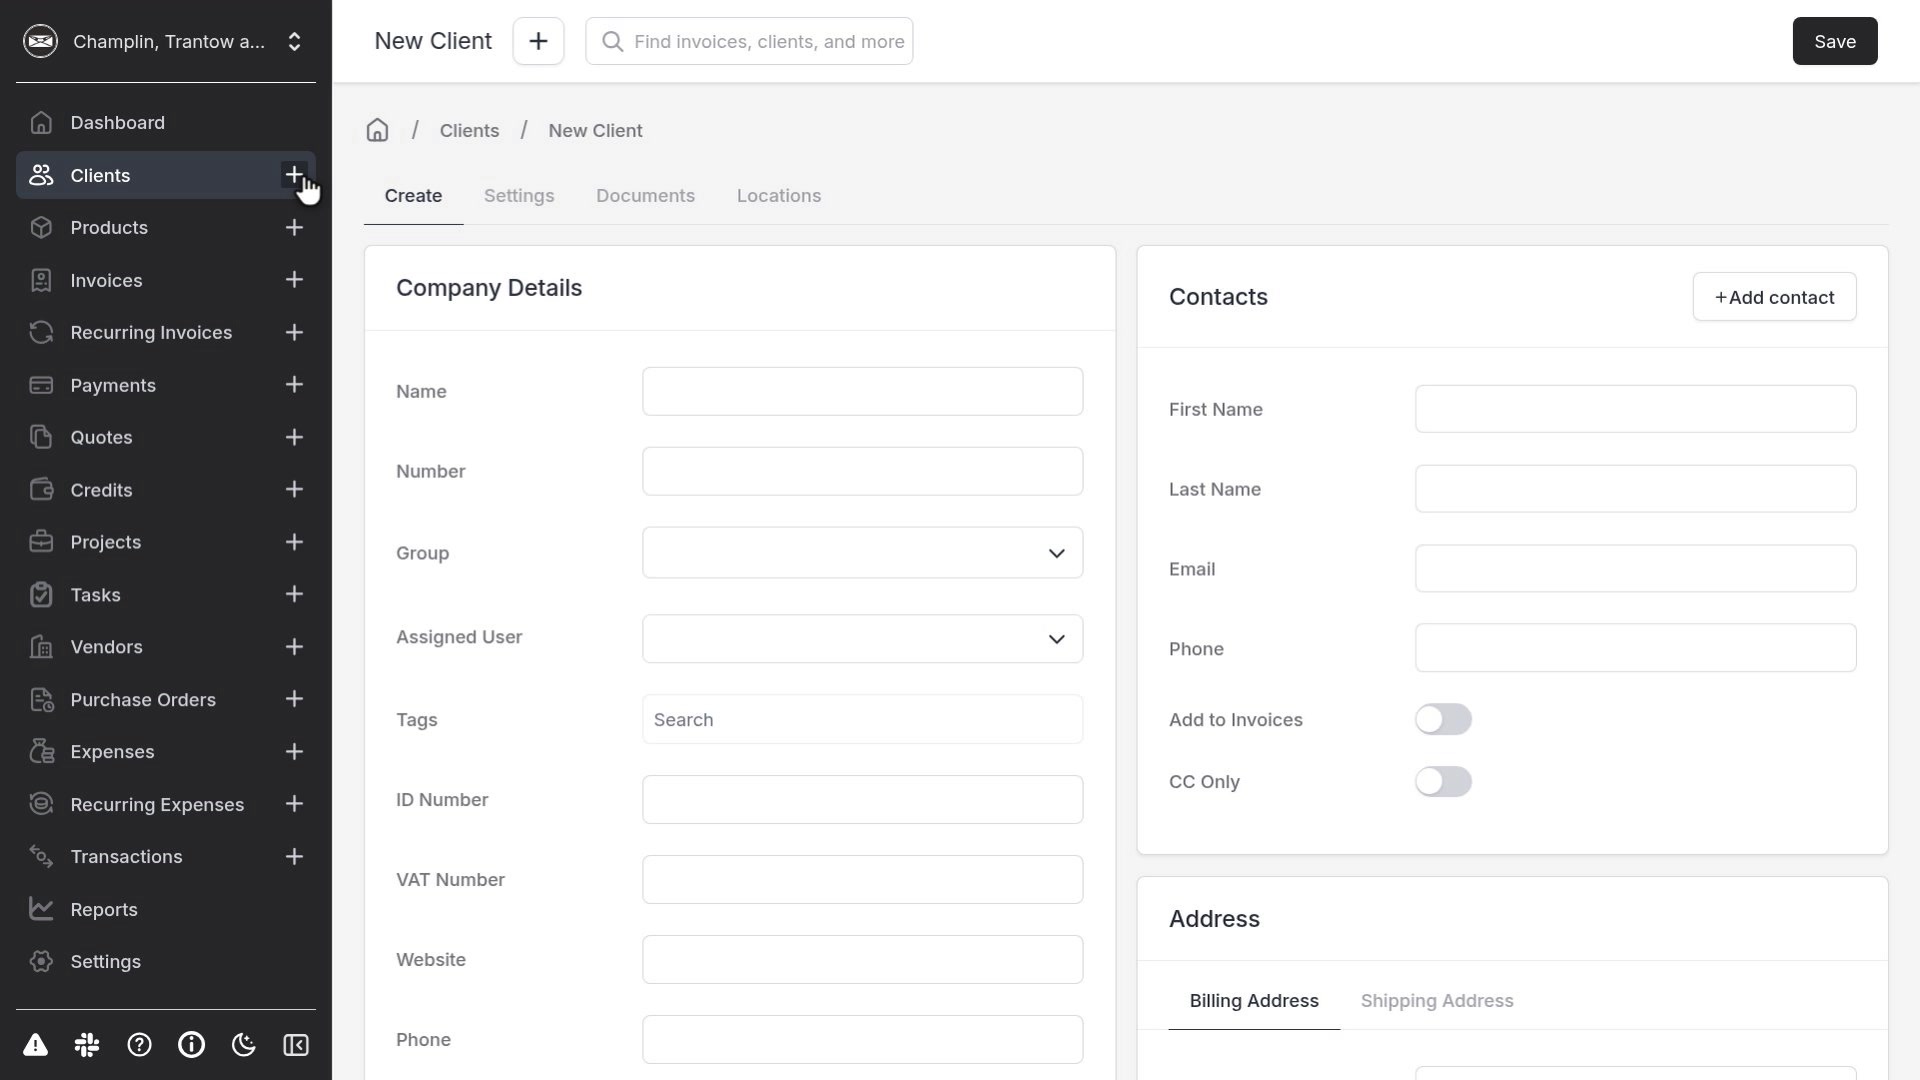
Click New Client in the top right. Invoice Ninja opens the create form: Company Details on the left, and a primary Contacts card on the right.
Step 3. Enter the company and a contact
In Name, enter the company name. For this walkthrough we used a clearly fake name:
Pinecone Demo Services (FICTIONAL)
Then fill in the primary contact:
- First name:
Jordan - Last name:
Example - Email:
jordan.example@example.test
The .test address is deliberately not a real mailbox.
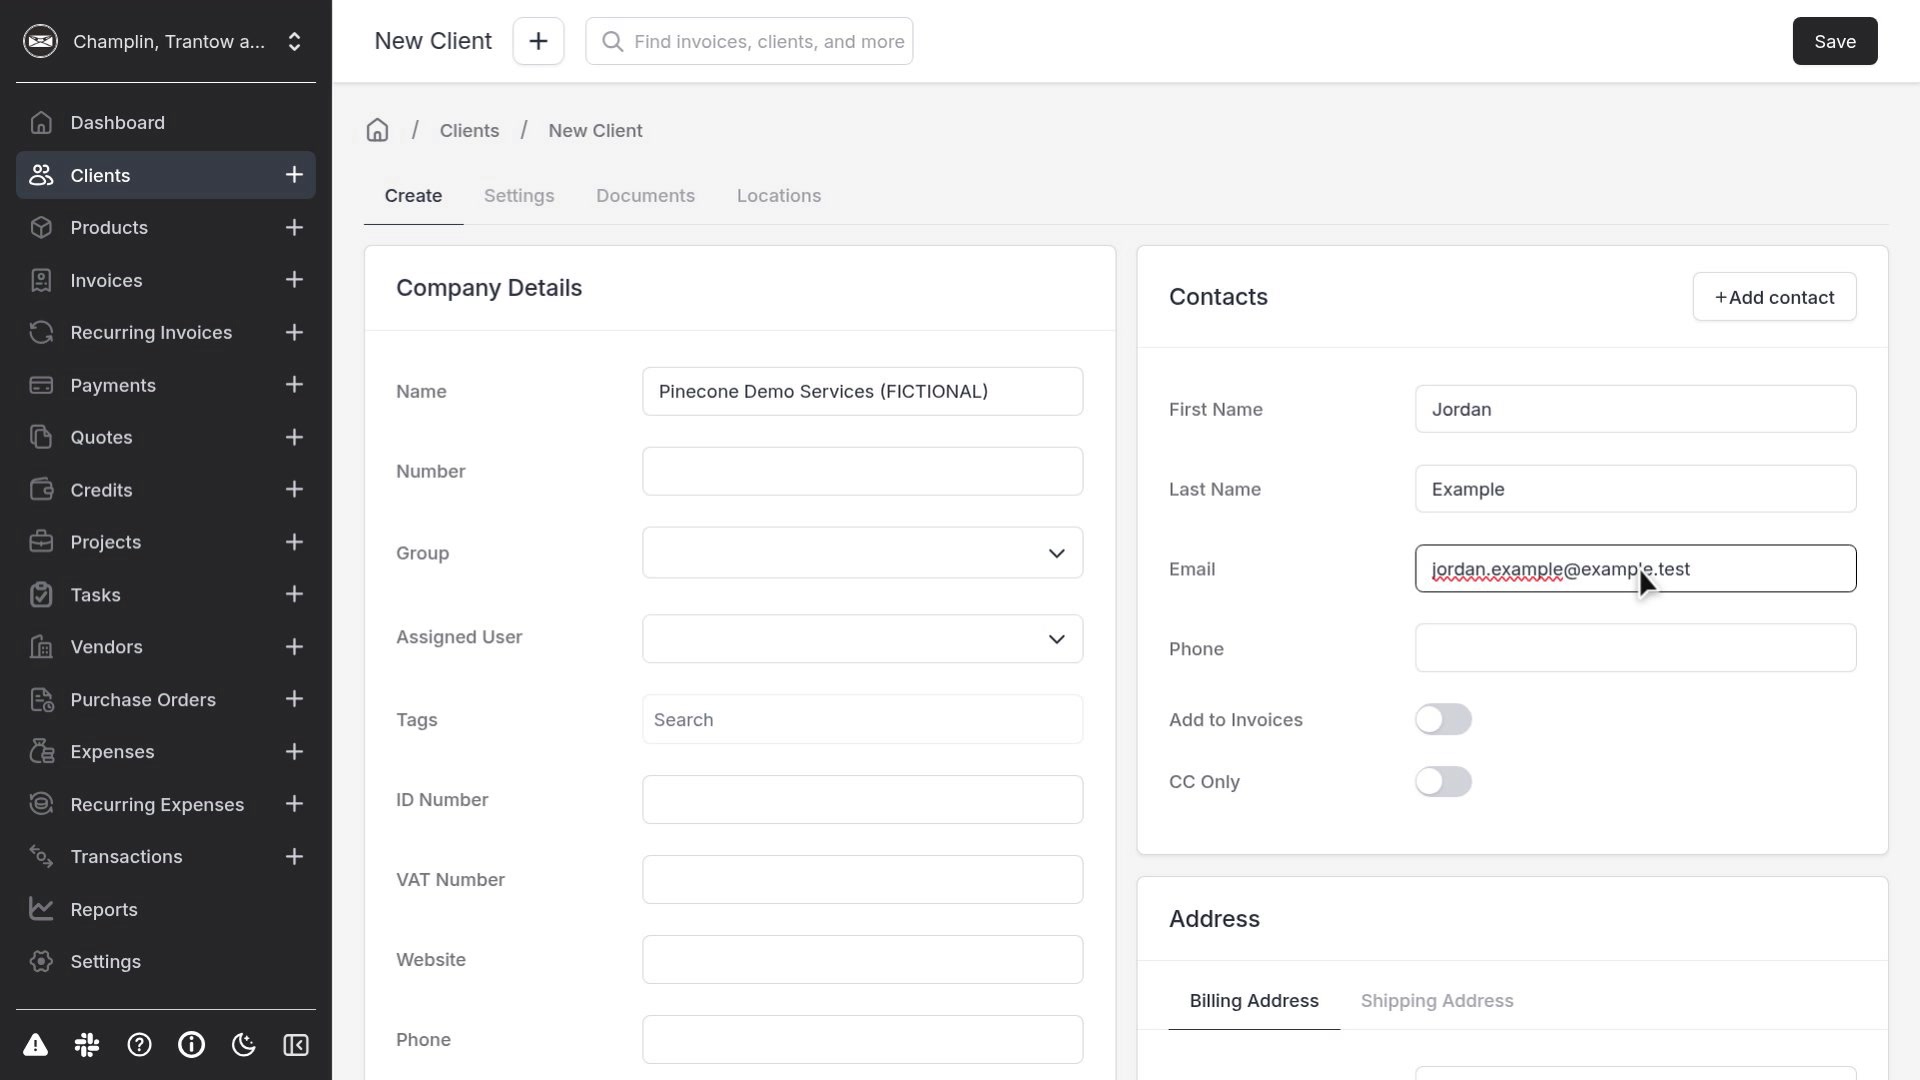
Leave the other fields blank unless you need them. You can add more contacts later with + Add contact.
Step 4. Save and confirm
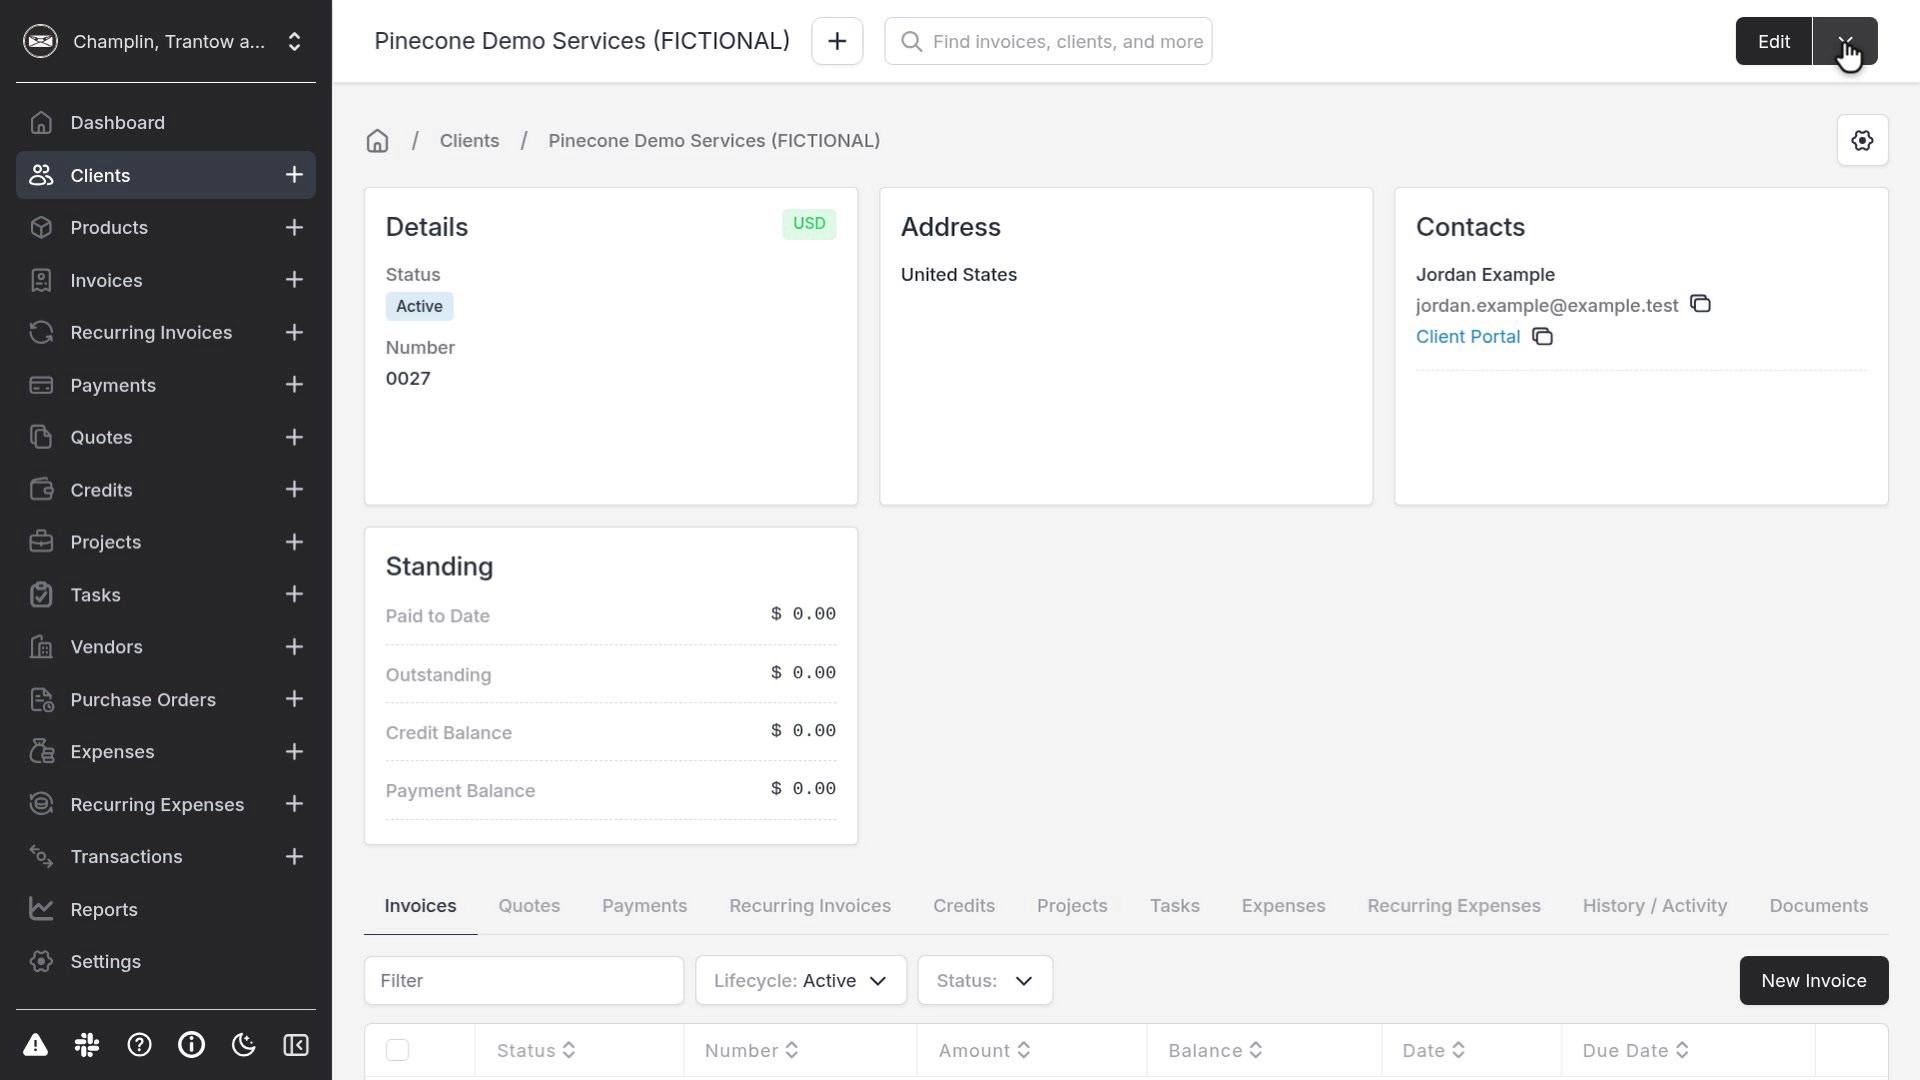
Click Save in the top right. Invoice Ninja opens the new client record. You should see the company name in the header, status Active, and the contact Jordan Example with the example email.
From this page you can start an invoice for the client when you are ready. See How to create and send an invoice.
Notes
- This demo company is shared. Use obviously fictional names and emails so you do not mix real people into the sample data.
- No email is sent when you save a client.